A beginner’s guide to worm composting
By Becky Ellis

Worm composting, or vermicomposting, is one of the easiest and most rewarding ways to compost kitchen scraps. The end product of the composting process is sometimes referred to as Black Gold because it is one of the most nutrient rich sources of fertilizer available. The best thing about worm composting is that it is easy, fun, and cheap and can be done indoors — even in an apartment.
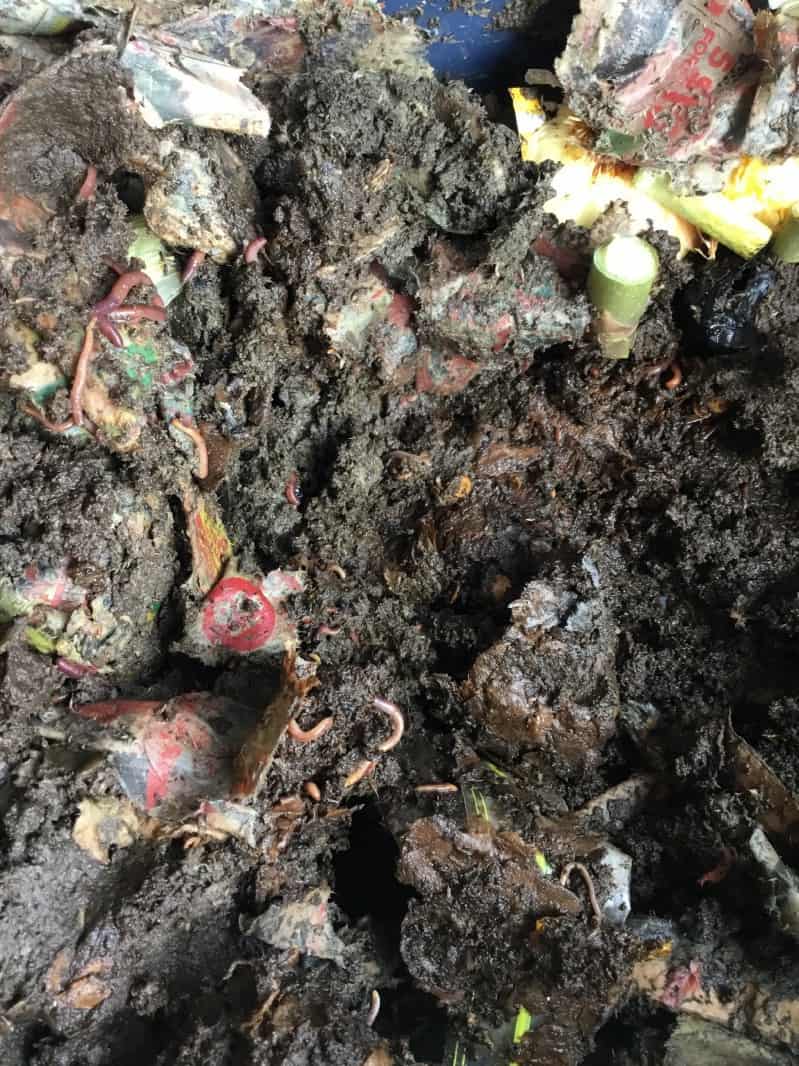
Vermicomposting uses manure worms (not earthworms) to break down decomposing food scraps. The most commonly used manure worms are called red wrigglers and can be bought by the pound online — look on kijiji.
These worms are smaller than the earthworms we are used to seeing when we dig in our gardens.. In the wild they live in forests and work at decomposing the decaying materials on the forest floor. They can also be found — as their name suggests — in steaming piles of manure.
Red wrigglers, the manure worms commercially used for vermicomposting, originate in California so they are not cold‐hardy. This means, in regions that get a cold winter, they are best suited for indoor bins and are ideal for people who do not have access to a backyard for composting. Vermicomposting is also great for folks who want to supplement their outdoor composting in order to quickly create amazing fertilizer for their gardens and plants.
Here’s how it works: Red wrigglers can eat half their body weight of food scraps each day. They eat the food and quickly pass it through their body. The result — worm poop or vermicompost — is the amazing black gold that is filled with beneficial bacteria and nutrients.
Starting a worm bin
Red wrigglers don’t live deep in soil like earthworms. They live in decaying materials at the surface so they can easily live in small human‐created composters. You can make a simple worm composting bin out of two plastic storage containers. Drill holes in the sides and bottom of one storage container and put it inside the other one. Drill holes in the lid.
Whe you first receive a package of worms, they will come with some vermicompost and their egg cases. You will need to add some bedding – I use damp shredded newsprint and some grit (sand or ground up eggshells). When you first set up a vermicompost bin, wait a few days before you start feeding the worms kitchen scraps. Start with a small amount — about two cups. Remember to always bury the food under the bedding.
A pound of worms can contain up to 1000 worms. The worms will regulate their population depending on the amount of room they have and the amount of food they are being given. Under ideal situations, a pound of worms can eat up to ½ pound of food scraps every few days. The best way to determine if your worms are being over or underfed is to feed them food — remembering to bury it under the bedding ‐ and check in a few days later. When it looks like the worms are breaking it down, add more. If there are still a lot of intact food scraps, wait a few more day before feeding them. You will have to replace the bedding periodically. Simply rip some newspaper into strips, soak them in water and wring them out. Fluff them up and put them on top of the worms.
Amazing facts about worms!
1. All worms are intersex. They have both male and female parts and can freely reproduce with each other
2. Worms do not have teeth but have powerful muscles in their mouth that take in the food and move it down their digestive tract.
3. Worms lay (release?) an egg case out of which about 5 baby worms emerge. Looking for egg cases in your worms bin is an easy way to determine how healthy and happy your worms are. They look kind of like dill seeds.
4. Worms do not have eyes but they move, find food, and find each other through their skin, which is sensitive to both touch and light.
5. Some people claim that composting worms can live up to three years!
Feeding your worms
NO
- Meat
- Dairy
- Oily or fatty foods
- Cooked foods
- Pineapple
Yes
- Fruit
- Veggies
- Coffee grinds
- Tea bags (not plastic tea bags, though)
- Egg shells
Harvesting the worm poop
When your worms are healthy and happy they will produce lots of castings. How do you separate the worms and their castings to put this amazing fertilizer onto your garden/plants? You can take a handful and pick out the worms and egg cases but this is a time consuming endeavour.
Here’s an easy way to harvest the castings: take the lid off the bin and put all the bedding and food to one side. Make sure the bin is in a place with bright sunlight or turn on the lights. Most of the worms will eventually crawl over to the side of the bin with the bedding and food. Most will migrate to the bottom of the bin to escape the light. This makes it much easier to get worm‐free castings (I still pick out any extra worms and egg cases).
You can put the castings directly on your garden or houseplants. You can also make a nutrient‐rich worm tea for even more impact.
How to make worm compost tea

1. Fill a 5 L bucket with warm water
3. Mix in 1/3 cup of molasses and stir well
4. Put a cup of castings into a nylon and tie it closed
5. Put the “tea bag” in the water
6. Take an aquarium pump and attach to an air stone (you can buy both at pet stores). Put the stone into the bucket and let bubble continuously for 48 hours. This is crucial as it helps the good bacteria to grow.
7. Dump the tea on your garden and plants for a bacteria and nutrient rich feeding or put in a spray bottle and spray on foliage.


